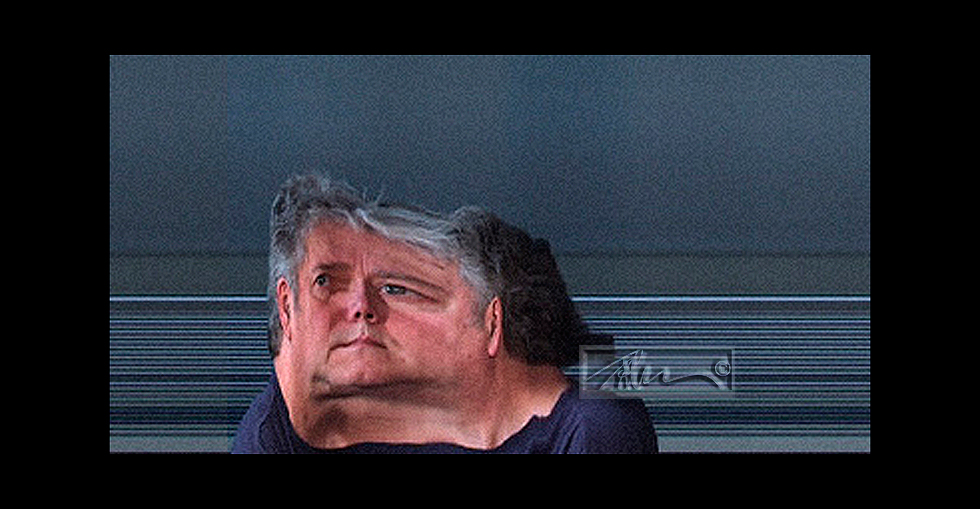
There are times when shooting certain types of subjects where focusing on the subject can be very difficult and auto-focus is not an option.
One such example might be when shooting a self-portrait with a lens adaptor. In most cases, lens adapters are not capable of auto-focusing. This is because the electrical contacts between the camera and lens are disrupted or nonexistent due to the presence of the adapter.
While guesstimating is an option, it is not as accurate as measuring or using a substitute subject. The idea is to have the focus as sharp as possible on the subject. This is especially true when using longer focal lengths and when shooting subjects at a close distance.
If there is nothing to focus on, you might need to use a substitute object as a stand-in.
To focus on such a subject, simply use something else that is temporarily placed in the same location or at the same distance. In a pinch I have used another person or a subject residing outside of the intended scene but that is located at the same distance to focus on. But sometimes those things do not exist in a given situation and the focus may not be exact because you are still guessing.
I have often used a broom or similar pole/handle to act as a substitute for the subject. Place the stand-in at the point you intend to use as a focus point. Set the camera to self-time and move to the position of the stand-in before the shutter fires.
In the old days, photographers would use a string with knots at known measurements such as feet. The string was attached at the camera location and was extend out toward the subject location. That distance was brought into focus by setting it on the lens or by actually focusing on the string itself. A small weight tied to the end of the string can allow the string to be made taught when slung over a chair or similar object.
Once set, simply place your facet at the exact same spot. The focused point on the string can then be held up to your face for positioning prior to the shutter firing. It would be good to set the self-timer long enough to give yourself plenty of time to get into position and pose.
This same method can also be used to maintain the same scale relationships between different subjects using the same camera and focal length. For example, when shooting subjects such as products where the images might be later combined into a composite or for other circumstances where the size relationship between subjects needs to be considered. It is a way to maintain scale when comparing the scale of a flower to another flower, or the relative size of one object to another.
Please have a look at some of my other posts here.
NOTICE of Copyright: THIS POSTING AS WELL AS ALL PHOTOGRAPHS, GALLERY IMAGES, AND ILLUSTRATIONS ARE COPYRIGHT © JOHN NEEL AND ARE NOT TO BE USED FOR ANY PURPOSE WITHOUT WRITTEN CONSENT FROM THE WRITER, THE PHOTOGRAPHER AND/OR lensgarden.com. THE IDEAS EXPRESSED ARE THE PROPERTY OF THE PHOTOGRAPHER AND THE AUTHOR.


