

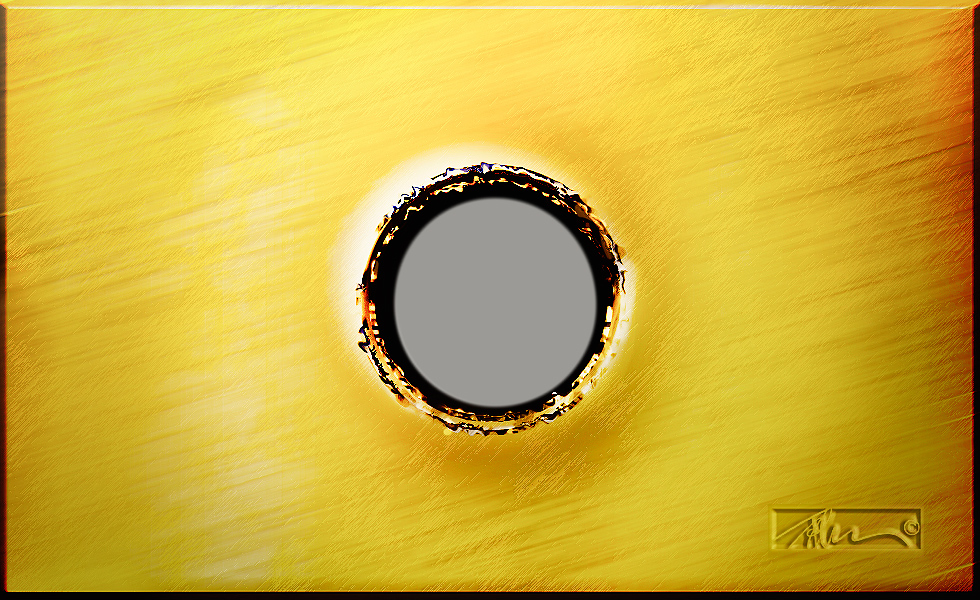
An Illustration showing a magnified Pinhole Aperture – © John Neel
In anticipation of the next Worldwide Pinhole Photography Day, I’ll be producing a number of posts about pinhole imaging.
In order to make the best possible pinhole and to help you find the proper exposure, you need to measure the pinhole.
Knowing the size of the opening will allow you to calculate the working aperture. This allows you to calculate the best exposure times for exposing under different lighting conditions.
In this post, I will show you a great way to measure the actual pinhole.
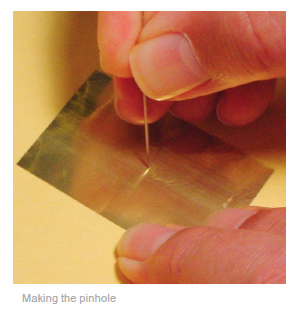
You should have a piece of thin metal that will be your structure for your pinhole. In this example, we are using a piece of brass shim. Brass shim can be purchased from a hardware or auto parts store.
 Before you start poking any hole, it would be a good idea to find out the focal length of the camera you intend to use. If you remove the lens from your DSLR, you can measure the distance from the flange to the sensor. The way that you do so is by using the image plane indicator mark on the top of the camera. The mark usually looks like a circle with a line drawn thru the middle. The line marks the image plane. If you have your manual, it should tell you where the mark is on your particular DSLR.
Using a metric ruler, measure the distance from the mark to the front edge of the lens flange. In most cases with a DSLR, that measurement will be somewhere around 40 mm. I will also tell you that the best pinhole aperture for a 40 mm focal length DSLR full frame camera is around .30 mm. You can use almost any size opening, however the optimum size will give you the sharpest image.
How do we measure a pinhole? The best way is to make a pinhole in the metal shim and measure it using a scanner.
 Step 1 – Lay your pinhole shim onto your scanner platen facing down. Place a metric ruler next to or on top of the shim also facing down.
Step 2 – Scan a small 2″- 3″ square area surrounding the pinhole making sure to capture the pinhole as well as a portion of the ruler as in the illustration above. It is best to scan the image at a high dpi. I usually use 2400 or 4800 dpi so that I can blow the image up large enough to read the ruler. There is no need to scan any more than this small area.
Step 3 – In Photoshop, make a square marque surrounding the pinhole area large enough to capture the pinhole and a bit of the brass. Copy and paste the selection into a new layer.
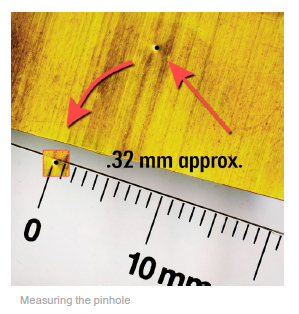
Step 4 – In the new layer, move the selection to a point over the ruler and adjacent to the scales. If you look at the relative size of the pinhole in relation to the marks, you should be able to make a good guesstimate as to the approximate size of the aperture. Using a millimeter distance on the ruler, visually divide the width of the pinhole into fractions of the distance between the marks. It is relatively easy to think of the hole as being approximately 1/4, 1/3rd or 1/2 the distance of the marks. Each 1/4 of a millimeter is equal to .25 mm. This kind of measuring is close enough for most serious pinhole work.
In the case above the hole appears to be slightly smaller than a third of a millimeter or .33 mm. I have decided that it is close to .33 mm and because I felt it was slightly smaller, I have decided that the opening will be .32 mm. On a full frame DSLR this equates to an aperture of approximately f /125.
Note: It is also possible to measure the distance using the ruler tool in Photoshop. However, you will need to factor in the new scale. I find that the earlier method works just fine.
Fudgefactor Pinhole Photography works for me. It is more about the experience and the expression than anything else. A little deviation or slightly off the mark makes no real difference. All I need is to get into the ballpark.
This method of measuring a pinhole allows you to inspect the size as well as the condition of the pinhole. The rounder it can be made and the smoother the bore, the better.
This method works for any type of pinhole camera.
Here is a link to using a pinhole calculator. Pinhole Calculator – How To Use
.
Read more about pinhole photography and other great photographic techniques in my book Rethinking Digital Photography.
Please have a look at some of my other posts here.
NOTICE of Copyright: THIS POSTING AS WELL AS ALL PHOTOGRAPHS, GALLERY IMAGES, AND ILLUSTRATIONS ARE COPYRIGHT © JOHN NEEL AND ARE NOT TO BE USED FOR ANY PURPOSE WITHOUT WRITTEN CONSENT FROM THE WRITER, THE PHOTOGRAPHER AND/OR lensgarden.com. THE IDEAS EXPRESSED ARE THE PROPERTY OF THE PHOTOGRAPHER AND THE AUTHOR.

Very helpful article! Thank you! We put a pinhole camera on a drone last spring. Here’s the video: https://www.youtube.com/watch?v=ieOl6RZv-r8