

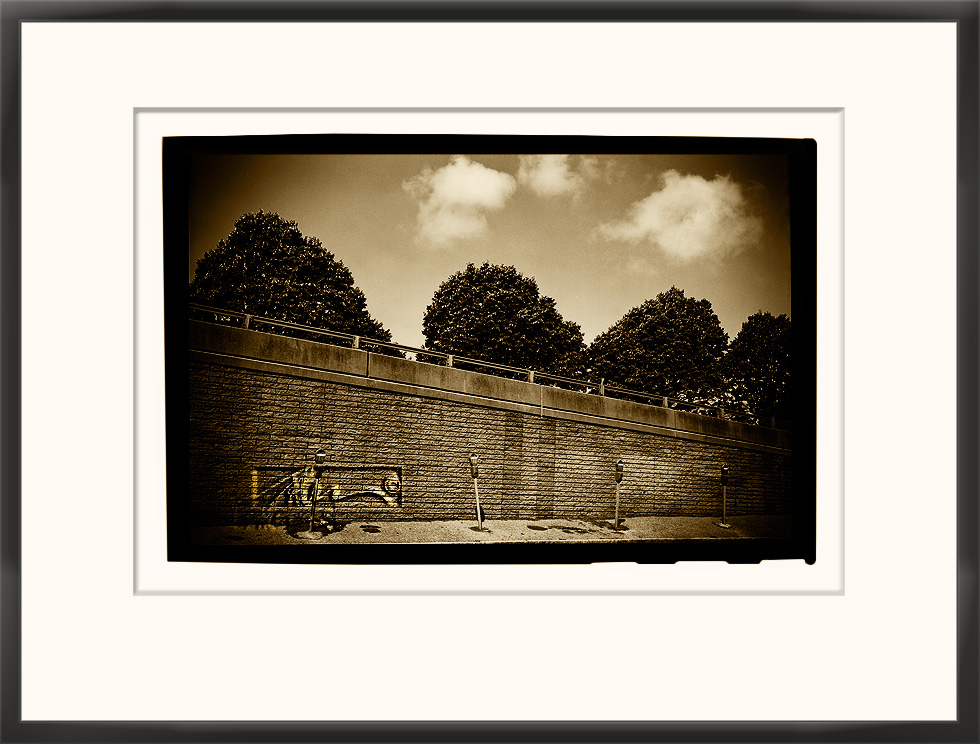
Wall with Meters – © John Neel
That cool looking black border and/or the fun sprocket holes around your images…
…that your iPhone or Android camera app produces is a leftover concept from the days of film. Its a lookalike computer generated effect that is copied from a time not too long ago, when photographers made images in a darkroom, with film cameras and with film.
The digital effect is meant to give an old school look to a digital image. What some may not realize is that unlike the digital version, there was good reason back then for the borders to exist.
No, it wasn’t to make the images look cool, although it did give them an interesting aesthetic appearance. It was actually used for practical photographic purposes. It was also a true product of a real photographic process.
Polaroid materials produced a border that was the result of the instant processing that took place inside the sandwiched layers of the film. The multiple layers contained the developing chemistry as well as the receiver inside a protective covering. As one peeled the image away from the processing layers, the unexposed edges of the material retained some of the effects of the process. Polaroid produced many different instant films that had there own unique characteristics and resulting borders.
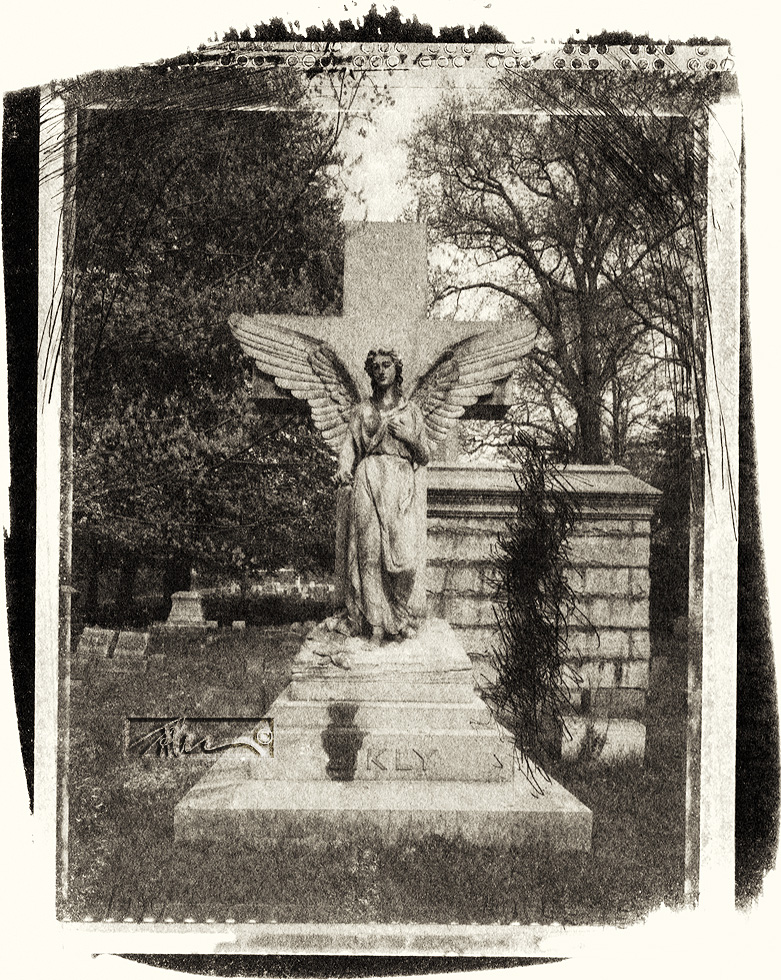
Angel – © John Neel
The use of the black border on 35mm and medium format film images was a way to show that the user cropped the scene using the entire imaging frame of the camera. Many black and white film photographers practiced it in the sixties and seventies. There are still a large number of black and white photographers using film today who print the borders for the same reasons I mention.
There are a number of other good reasons why photographers did so.
It was a way to train image-makers to see the subject as framed by the viewfinder. It also was a means to capture the maximum resolution of the film and helped to reduce the apparent grain when enlarging small negatives. It made it easy to produce images that could be interchanged into the same sized mats and frames. For many, the black border acted as a framework for the image.
In a darkroom, using an enlarger, the border was a good way of seeing your margins, squaring the image into the printing frame or using the line between the image and the border for focusing the edges. After printing the work, one might choose to include the border as a way to inform the viewer that the full frame had been used. Others trimmed the images down to a thin line. Some cut the images just inside the borders or concealed them behind mats when framing. The borders were part of the process even if they were not included in the final display. In order to utilize the entire negative, it was necessary to make the opening of the negative carrier a bit larger than the actual image area on the film. Once filed out, it was easier to see if you had the entire image within the frame of the negative carrier for printing. A normal carrier might easily crop off something that you didn’t want cropped because it was usually not the same dimension or aspect ratio as the negative.
There were also photographers who made contact prints from large camera negatives. In most cases, especially with alternative techniques such as gum printing or cyanotype, the large format film negatives were printed by laying the negative on top of the light sensitive print material. The result was an image that showed a portion or all of the non-imaged area of the negative as well as the actual image.
Many of the photographers we admired made images that had borders. Robert Frank and Les Krims were ones that I liked to mimic. Some early photographers printed a portion of the sprockets as well as the film branding and frame numbers. To them it was simply a part of the procedure of using film. It was a mark that authenticated the process.
The practice of composing and shooting full frame is a great thing to do as a digital photographer too. It allows one to obtain the highest resolution possible on a sensor. You make every pixel count. Digital is different from film grain in that pixels are always square to the frame. The sensor consists of straight columns and rows of pixels, which form the actual image. With digital, any kind of border has to be simulated and added through software or with a plug-in, which might be built into the camera.
Borders on digital images are an invention derived from the old film look. As such, they are completely decorative. They serve only to frame the image into a faked likeness of what is a film based characteristic. In a way, considering the precision of the computer, it is a bit silly that it exists at all in digital.
Film has its peculiarities, which if you had been around at that time, you would have learned to love. It is still possible to shoot it today. There are many, like myself, who hate to give it up.
Obviously, someone loved those borders enough to bring them forward into the illusionistic realm of digital even if there is no other reason than it looks kinda cool.
Please have a look at some of my other posts here.
NOTICE of Copyright: THIS POSTING AS WELL AS ALL PHOTOGRAPHS, GALLERY IMAGES, AND ILLUSTRATIONS ARE COPYRIGHT © JOHN NEEL AND ARE NOT TO BE USED FOR ANY PURPOSE WITHOUT WRITTEN CONSENT FROM THE WRITER, THE PHOTOGRAPHER AND/OR lensgarden.com. THE IDEAS EXPRESSED ARE THE PROPERTY OF THE PHOTOGRAPHER AND THE AUTHOR.
